My dream has come true.
Sort of.
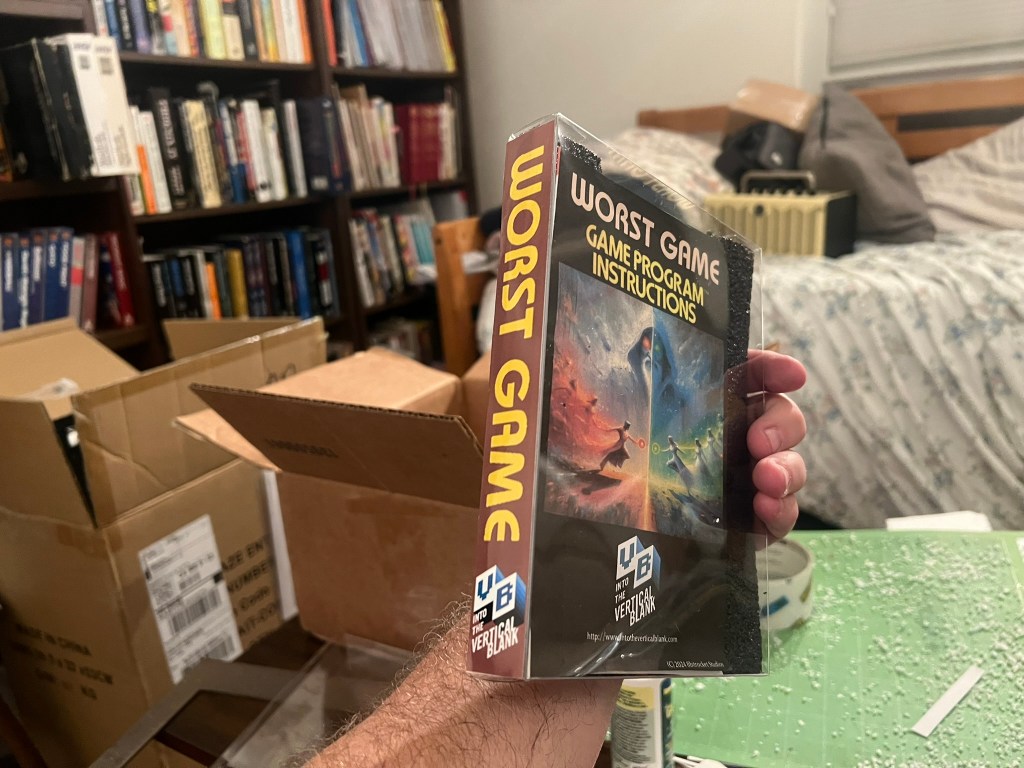
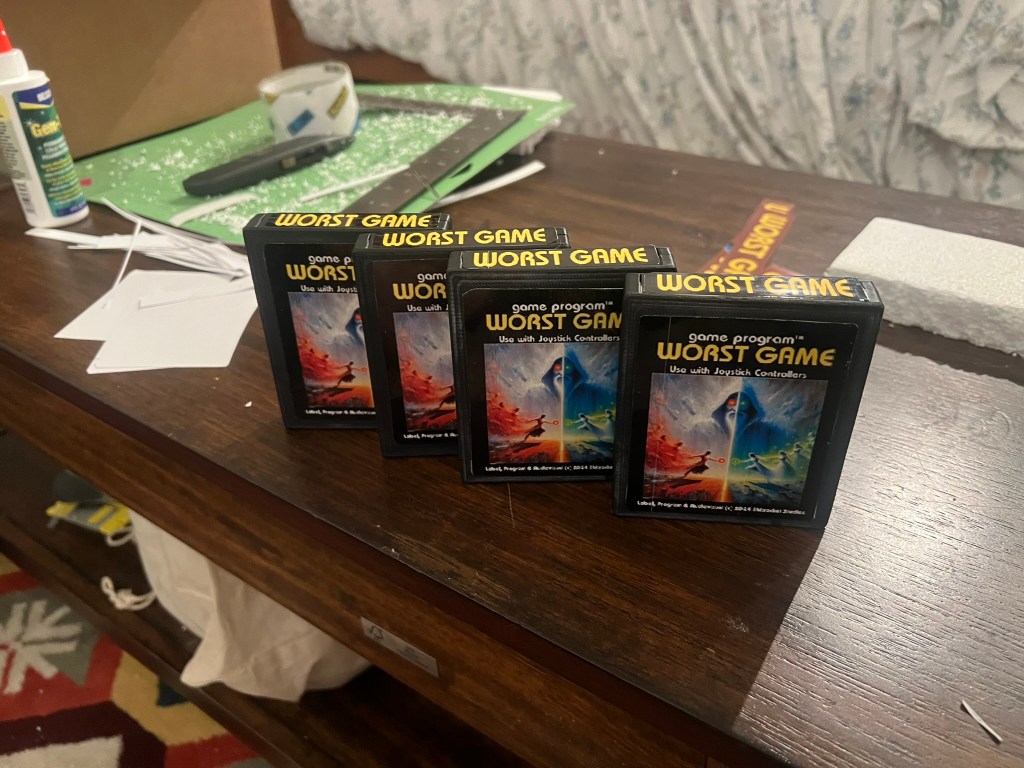
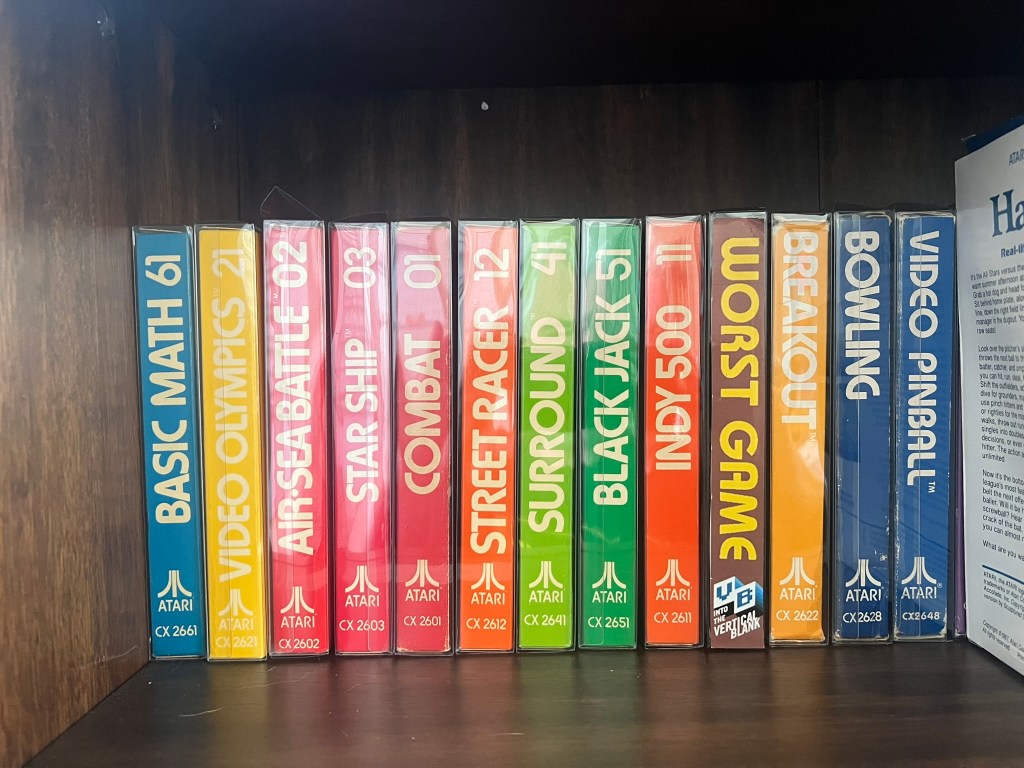
I can now place my very own Atari 2600 game on my shelf of Atari 2600 games, and the spine will tell the tale of my own creation: “The Worst Game”
Let me explain.
I spent most of 2024 creating a series of “Worse Than E.T.” videos where I tested some of the “supposedly” worst Atari 2600 games, to see if they were worse than the actual supposedly worst Atari 2600 game, “E.T. The Extraterrestrial.” (which is in fact, spoiler!, NOT the worst game after all)
You can see the full playlist and watch the series here:
The series culminated earlier this year with my own game I wrote in bAtari Basic (complete with awful A.I generated box art) named “The Worst Game”. It was my attempt to throw my hat into the ring and see if I could take the crown for creating “The Worst” Atari 2600 game ever made.
The results were mixed.
Some people thought was truly awful, while others felt I failed because the game loaded without crashing.
Touché!
And that was going to be the end of it.
A ROM of the game was made available for anyone who dared to play. I felt that I had partially achieved my goal of making a terrible game, even if it was not the worst game ever.
You can find the game and the instructions posted for free download on Itch.io : Worst Game (Atari 2600) by Into The Vertical Blank
However, my friend T1LT! had other ideas. T1LT!, dabbles in retro game hardware, and he took it upon himself to create a cartridge version of Worst Game. He presented it to me when we met-up at the So. Cal. Gaming Expo. in June.
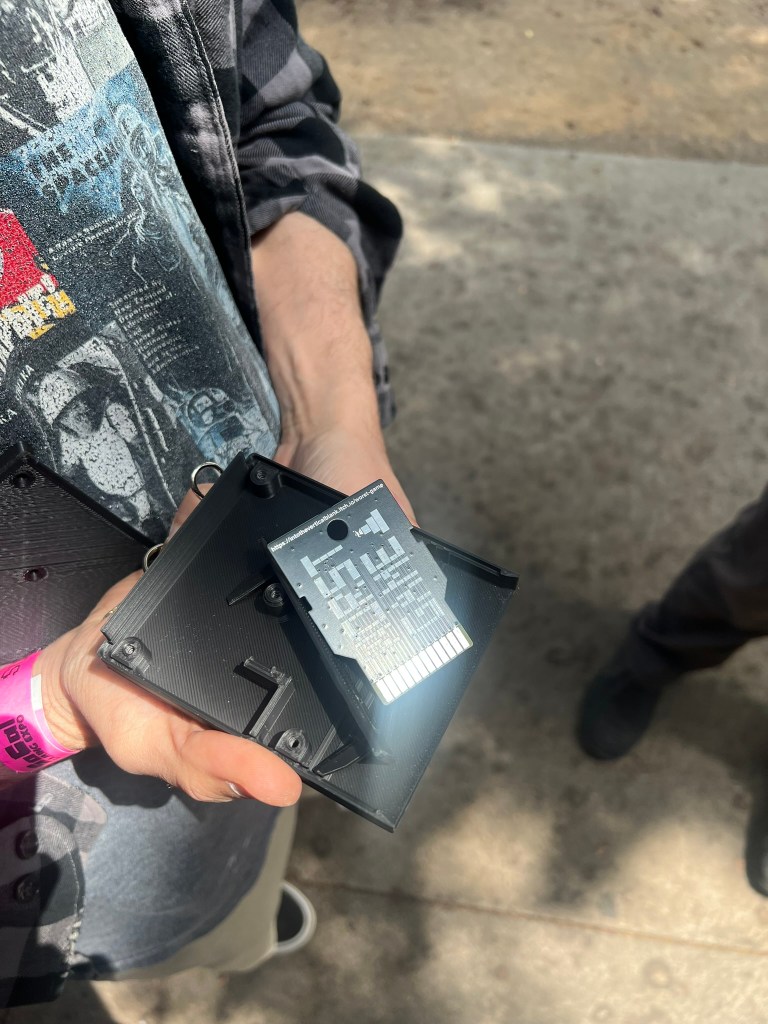
The best part was that the ROM was loaded onto a snazzy, custom “Worst game” board that T1LT! created himself
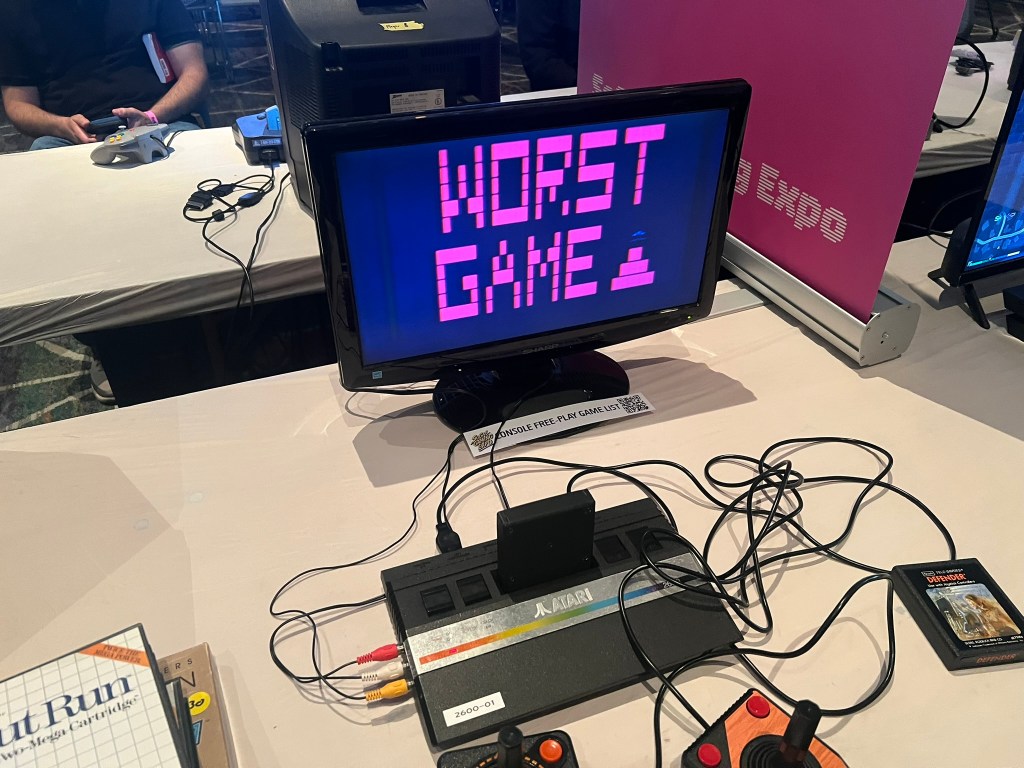
Later when we were inside, we snuck it into one of the demo machines and tested it. It worked! So in reality The Worst Game actually made it’s debut at the So. Cal Gaming Expo!, albeit in a kind of pirate/hacker punk rock kinda way.
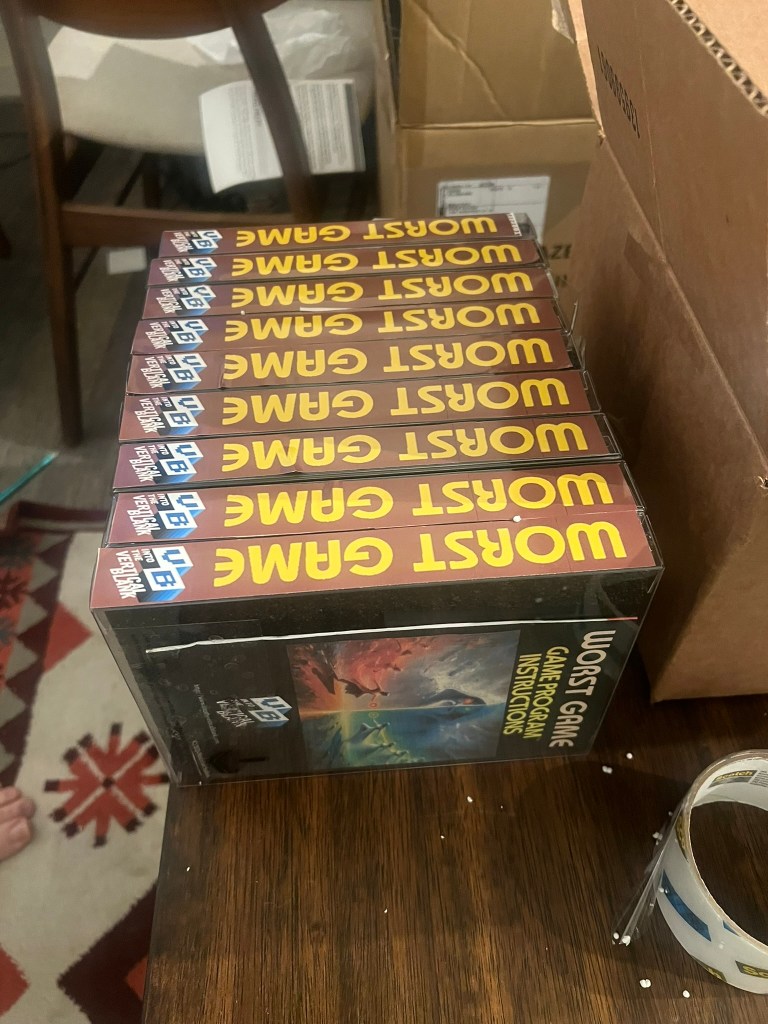
A month or so later, T!LT! sent me 10 copies of the game on his custom boards in 3D-printed shells for $30, costing $3 a game. I did not actually pay him $30 though, he paid me back in carts for the lunch I bought him at the So. Cal Game Expo. So really, 10 carts for the price of fancy burrito large Coke and a tip, the going rate in Old Pasadena…which, again, was about $30.
Anyway, I put the box in my office and forgot about it over the summer.
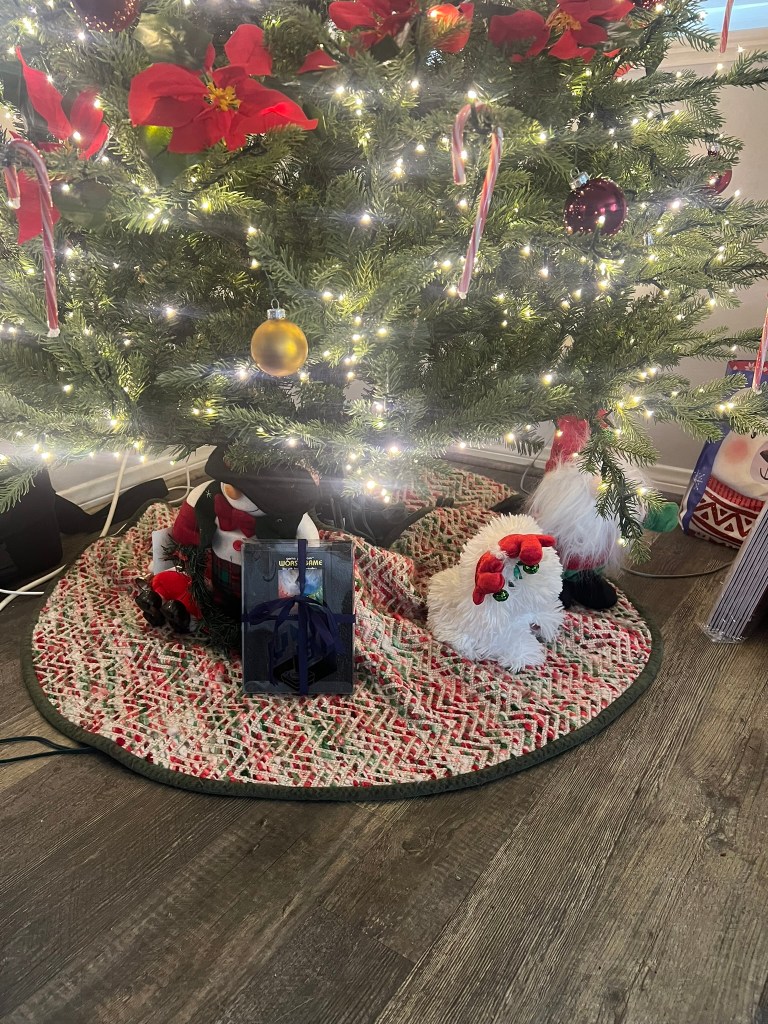
A few weeks ago, I realized the holidays were coming fast and I really wanted to give the Worst Game as Christmas gift to T!LT!, my brother, my daughter-in-law and my old friend Ian.
To do this I wanted to create a label, printed instructions and even a box, if possible.
So I started with the instructions as it seemed like an easy way to go. Plus, if I could not get the instructions right, I’d would probably quit altogether.
After much trial and error (and probably $50 worth of printer ink which I think currently trades at the price of gold), I was able to get the instructions printed two-sided in Microsoft Word.
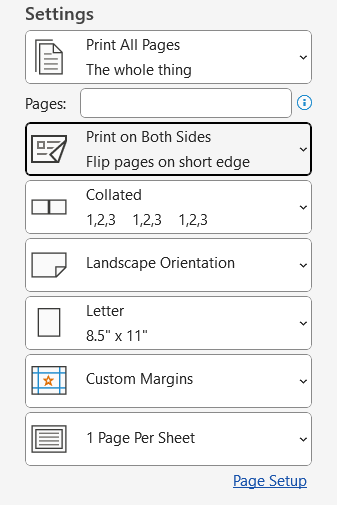
The key to get the 4-page instruction manual printed was to make sure the document was in landscape with zero margins.
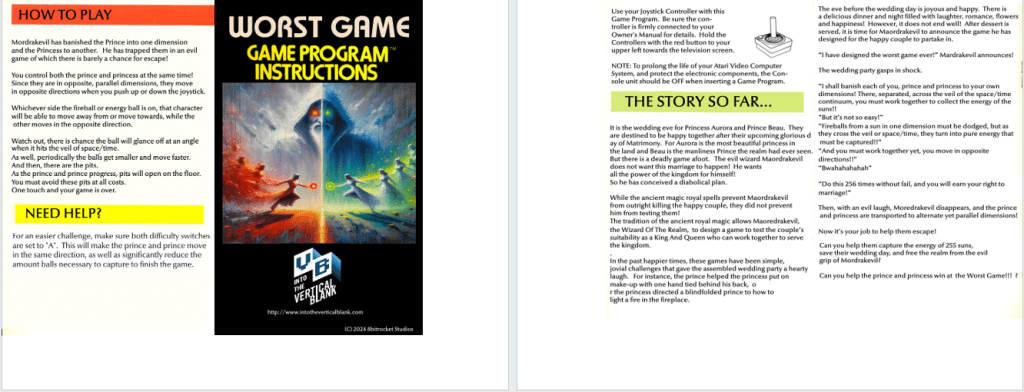
The second page needed to be right justified so when the page it turned over automatically by the printer, it prints in the proper location.
The next thing I needed to do was to make sure that when I printed, I selected the “Flip pages on short-edge” setting so the backside did not get printed upside down:
It worked!
So I pressed on.
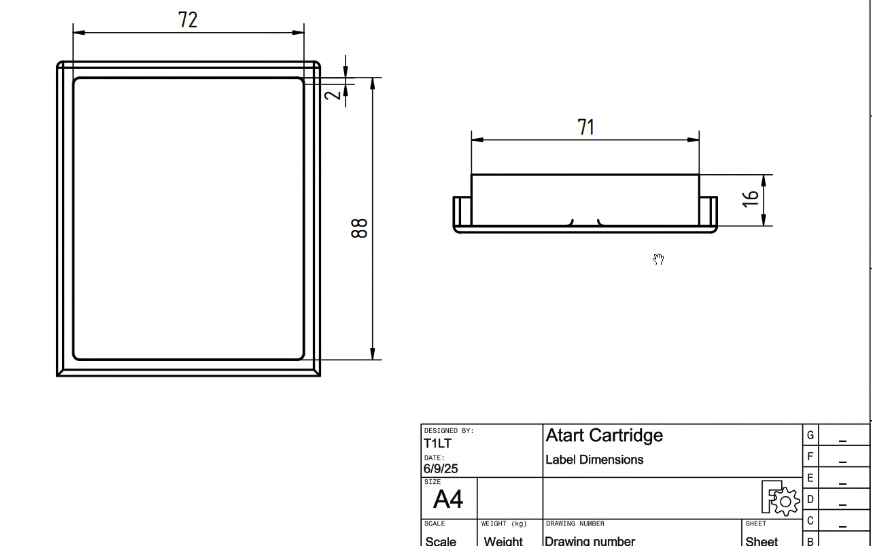
Next, I tried to tackle the labels on the cartridge. T!LT! gave me a document with the proper dimensions for them and I created images in Paint.NET based on these numbers.
My first concept for the labels was to use clear, printable labels. I experimented with both Matte Clear and Glossy Clear.
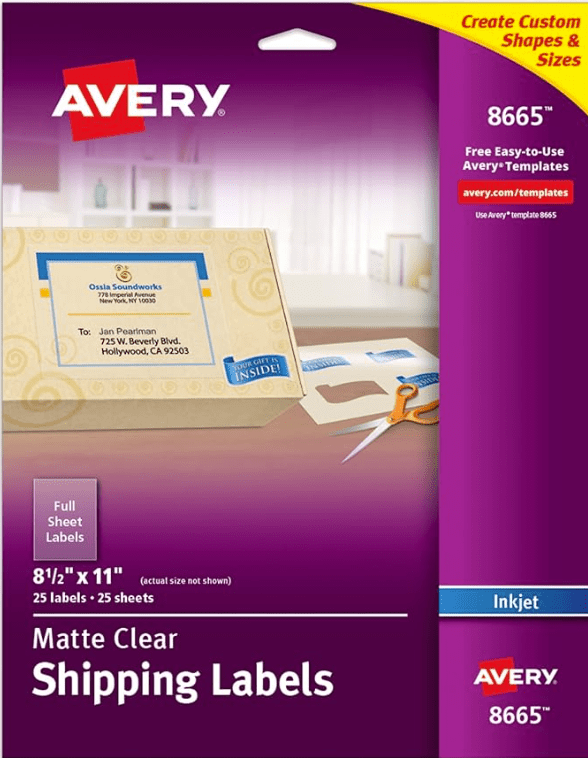
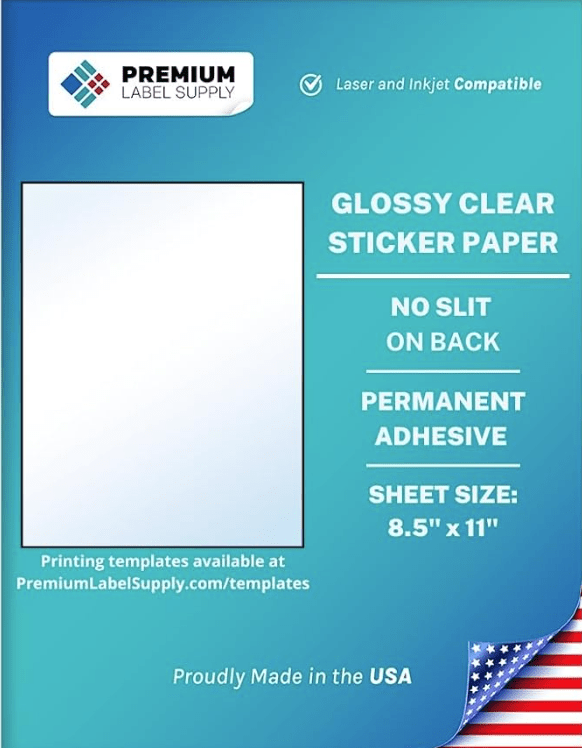
Both of these resulted in labels that could not be read on a black background. They would work much better if the carts were printed with a white filament, but with black it seemed to require stickers with a glossy white background.
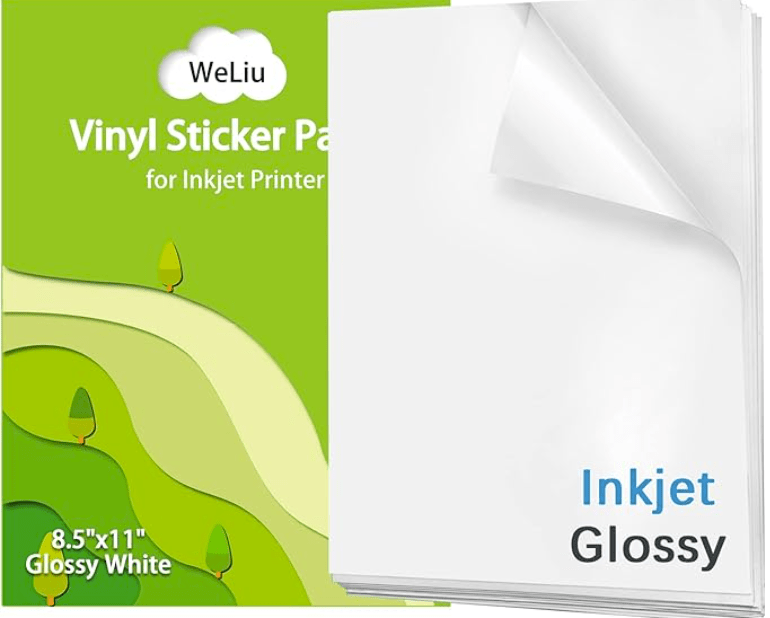
I found some on Amazon and tested them out. This finally worked. Glossy white stickers would be my method going forward.
All in all, I spent $72.84 total on labels, but the ones I finally used cost $20 for 21 sheets.
The next step was for me to tackle the box. I looked at a few custom box sites on the web, but the costs were enormous. the prices only came down to my level when I looked at purchasing very large quantities. I might have been able to get a box for $5.00-$7.00 for instance, but only if I bought 150. I only needed 10.
I had to think of a different idea.
T!LT! clued me into a solution. He used a see-through plastic box for an NES game he created. and used then glossy-clear stickers on the box.
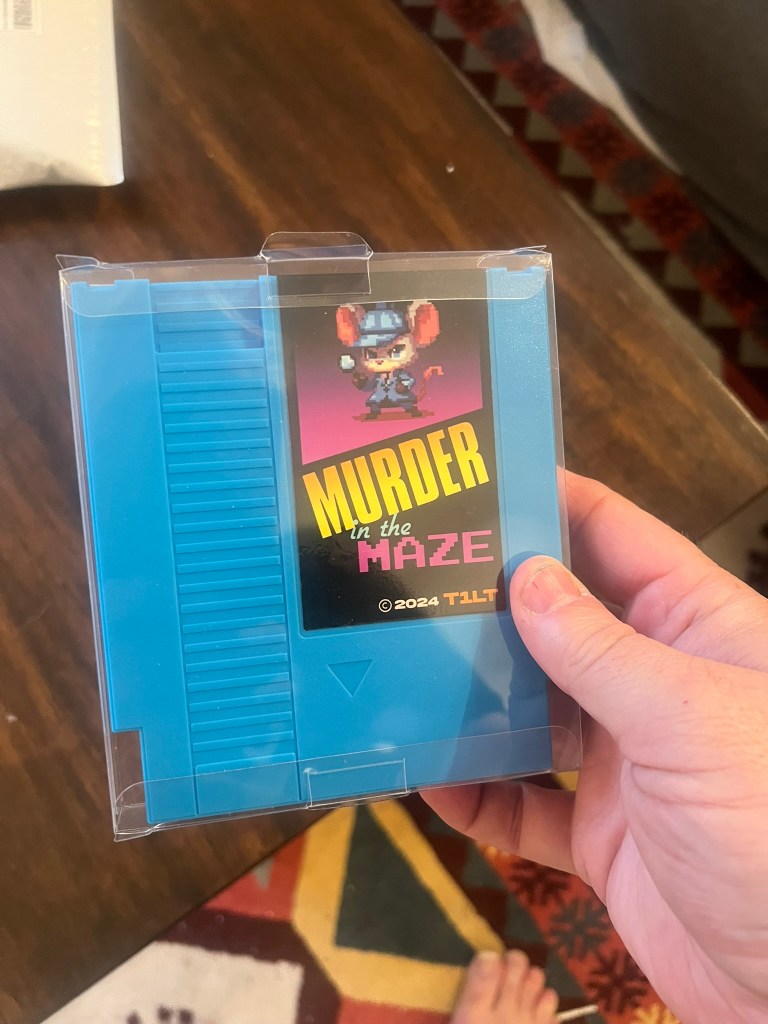
In the past I have purchased box protectors for all of my Atari 2600 CIB games, and I realized that the plastic box protector might be able to act as the actual box. The protectors are fairly sturdy, and as bonus, they could pull double duty as a protector themselves!
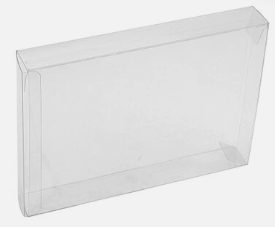
I paid about $25 for 20 box protectors, for a cost of $1.25 each.
However, the main problem with plastic box is that there is no structure inside. I had an idea that maybe putting some Styrofoam inside might solve this problem. I tried a piece of white Styrofoam from Michaels first, but not only did make an awful mess when I cut it, the edges were ragged and it looked awful. I needed some material that was easier and cleaner to cut. I found it with some 1/2-inch thick Polyethylene Foam Sheets.
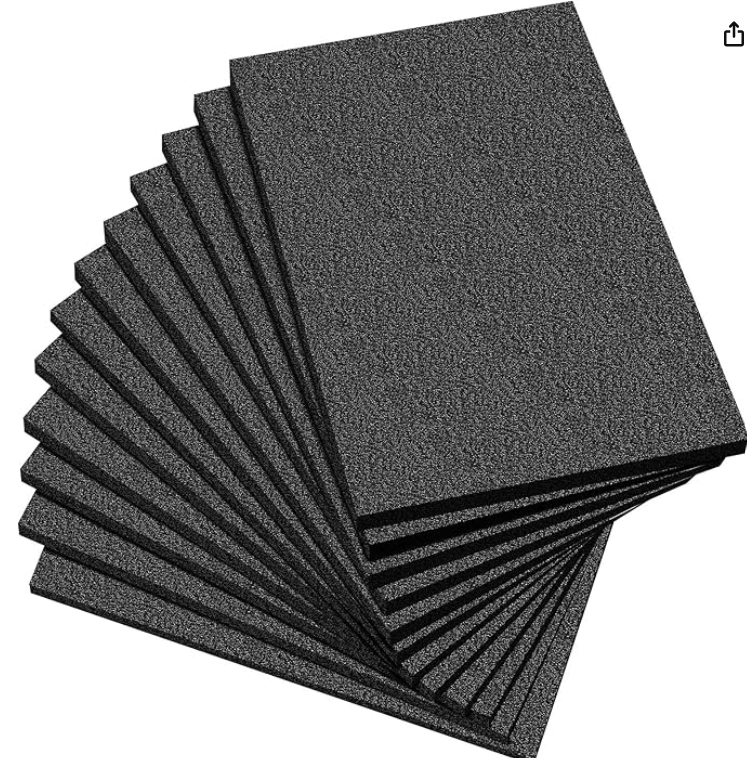
While the Polyethylene was not perfect, it cut much easier than Styrofoam. Each sheet is 12×12, so one sheet can support the entire inside of a single box. I paid $23 for 12 sheets, and I made some mistakes too, so I I’d just round-up and say it cost $2.00 each for the basic black insert.
I cut insert to the proper size using the box as a guide, and then similarly cut out a “cartridge shaped” area using the cart as guide.
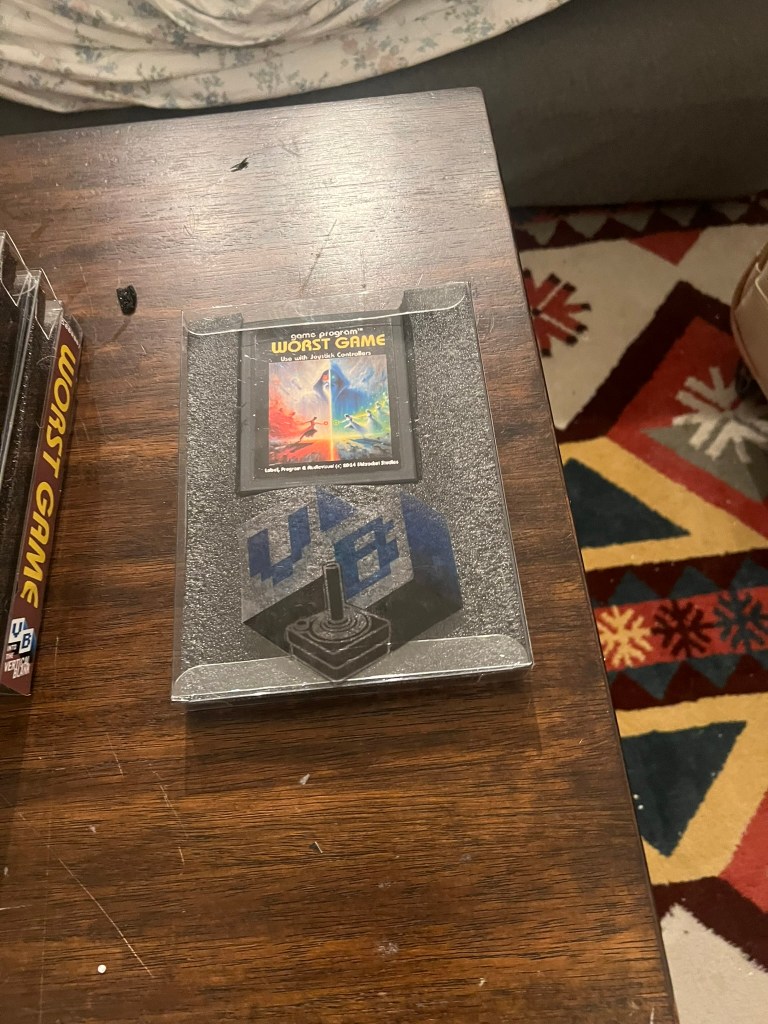
With cartridge in the box, and the instructions slid in the back, I went back to my sticker printing to finish off the box.
I made a single side-sticker with the name of the game. I only made one per box, because I only need the name to face-out on my shelf of Atari 2600 games. I then made a single sheet that could support all the color-on-White stickers I needed for four total games at once:
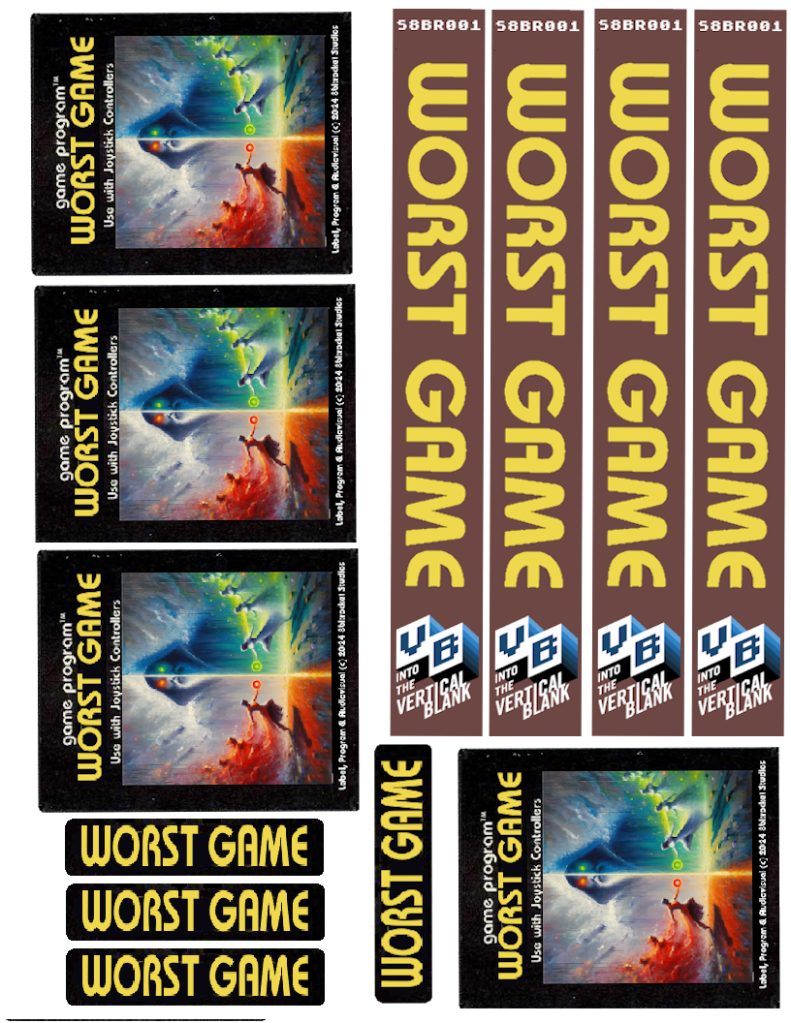
I also wanted some stickers for the front and back on the box, that did not interfere with the cartridge and instructions images showing through the plastic box. I created a Vertical Blank logo with an Atari joystick pinched from the back of an Atari 2600 box.

I also used the text from the box and the same joystick to create a sticker for the back of the box.

I printed these on the clear labels I mistakenly bought at first, but now they seemed like less of a mistake, and more of a style choice.
Since the white glossy stickers were about $1 sheet, and I could fit four sets on it, that made the cost about $0.25 per game. The clear stickers were also about $1.00 a sheet, so that’s about $0.50 total for the stickers for each game.
Total cost For Project
For all of the “crafting” I did for this project I spent:
-$30.00 for the carts
-$74.84 on labels
-$26.98 on the plastic protectors
-$23.00 for the foam inserts
But I almost forgot the printer ink i used.
Color ink for my HP printer costs the highway robbery amount of $85.00. with all of my various screwups, I probably used 1/2 the ink on this project, so that’s another cost to add in.
-$42.00 for printer ink
So that a total of $196.82.
I produced 9 total carts (leaving one for a planned “special edition”) for a cost of about $22 each. Not too bad, but also not the true cost if I made another 10.
Adding up the cost for each in the future, after all this work we get:
-$3.00 for T1LT’s board and 3D printed shell
-$1.25 for plastic box protector
-$2.00 for the foam insert
-$0.50 for the stickers
-$1.50 in printer ink (estimate)
For total cost of $8.25 per game.
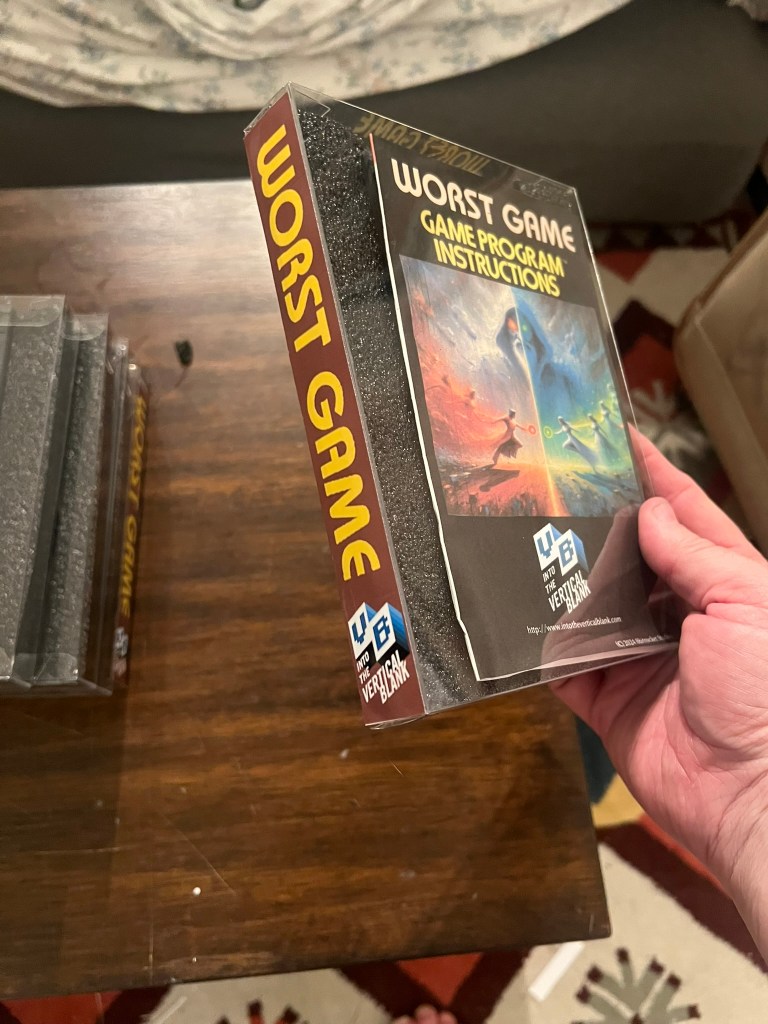
While the final version of the box is not perfect in any way, I think it’s perfect for The Worst Game! I know some people might says “that box sucks” , “or you didn’t do it right” or whatever, but I kinda don’t give a shit. I did it my way, it worked for me, and I happy with the results. The box fits perfectly among my other Atari 2600 games, because they are also inside plastic box protectors.
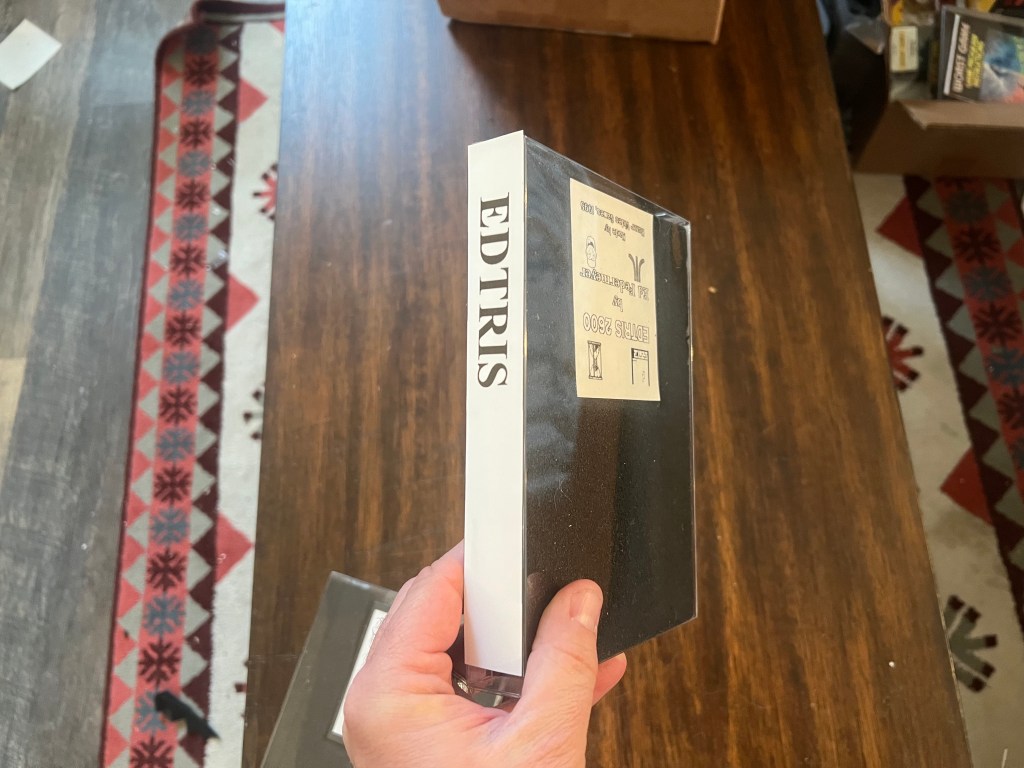
Obviously, the “The Worst Box” is no substitute for a professionally printed one, but there are other uses for it. For example loose, DIY homebrew games from other programmers, like Ed Federmeyer’s Sound-X and Edtris, some of the earliest Atari 2600 homebrew games, can now also sit proudly on my game shelf, where once they were hidden away in a random drawer
I’m sure this process will evolve over time, and the boxes will get better and better, but for now, I have a defined a pathway to make my dream of creating Atari game cartridges, on my own terms, a reality.
Merry Christmas Jeff, T1LT!, Anelia and Ian, The Worst Game will soon be yours for the playing.
-Steve Fulton

Leave a comment