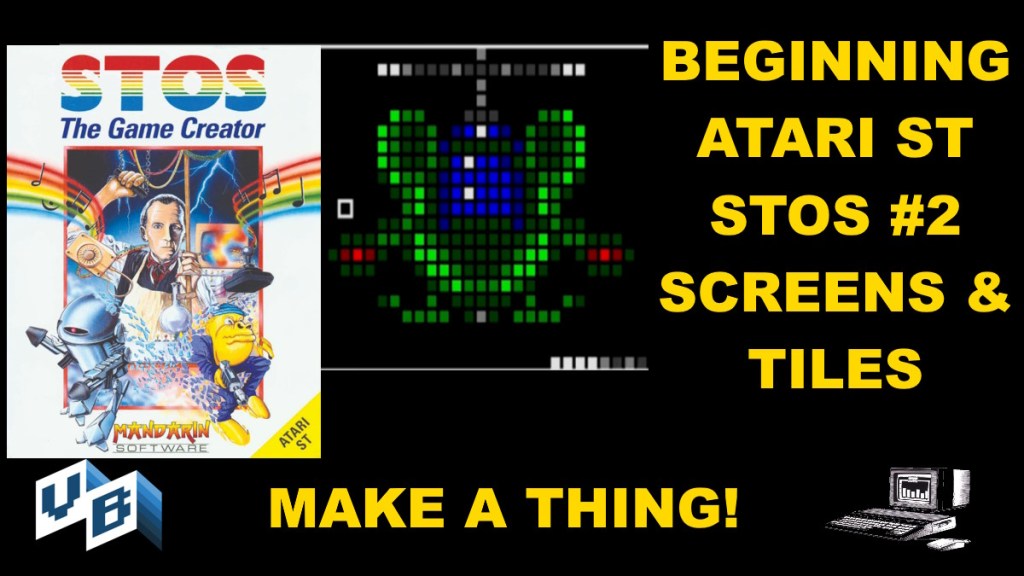
In this series we will look at STOS Basic for the Atari ST. This program was designed as a game creation programming language but sometimes has been mistaken for a construction set, which it is not. In the preview episode we look at STOS Sprites
Hi and welcome to Beginning Atari ST STOS Basic #2 the screen. MAKE A THING.
Today we are going to cover how STOS uses the screen for graphics that are not STOS sprites. We will cover a few drawing operations and how to make an animated graphic from a graphic of tiles rather than a memory bank of sprite.
Let’s get started
Download the Latest CODE Folder For this Part 2 and Part 1 Called Firststep.zip it can replace the folder firststep in the code folder of the INVBSTOS zip below.
Starting next time all code will be here and in github as build our game
Download the INVBSTOS Folder and files for this project – Version os latest STOS and Project files for Part 1 easily installable on an ST hard drive or for use in an EMULATOR
rem *** screen1.stos : main program file
A note on comments in code Comments:
REM are included in your basic program. Technically these are called REMARKS but shortened to REM
C style comments beginning with two forward slashes per line or a block surrounded with /* and */ are NOT included in the basic program.
The most important command dealing with the screen in any new language, I have found, is clearing the screen.the CLS command does this.
The second most important is the graphic mode. We set the graphics mode with the mode command.The ST has 3,
Mode 0 Low at 320 x 200 with 16 colors
Mode 1 is 640 x 200 with 4 colors
Mode 2 is 2 color 640 x 400
STOS actually uses three screens
1. Physic the location memory of the viewable screen. If you draw to this, it will be shown right away.
2. Back – The address of the background screen. This is an exact copy of the physical screen minus the sprites. It’s used to replace parts of the physical screen a sprite moves. Back is not shown to the user.
3. Logic – This is when things you draw actually go. This is usually set to the same address as the physical screen but can be changed. If the address is the same as physic (the default), when you draw, graphics will be displayed right away. If you change it to a different memory address, then you can double buffer your drawing.
We’ll get to that soon
we’ve added key off below, key off will turn off the text cursor.
Getting the Palette from an image. Unlike a sprite bank, pulling the colors from an image is very simple: get palette(screen) or get palette(physic)
rem load a graphic into the
rem setup. Copy pic.pi1 Degas uncompressed file from the STOS folder in the root to the STOS folder in the project
rem *** for editing set function keys ***
rem *** modified for easy of use ***
key(2)="default"
key(3)="fload"+chr$(34)+"*.asc"+chr$(34)

rem *** start STOS Program ***
cls
mode 0:key off:flash off
load "pic.pi1",back
get palette(back)
rem *** screen2.stos : main program file
We are going to show to use the STOS built in screen transition, appear
Some commands we will be using
reserve as screen will set a memory back aside and allocate it to hold an entire screen
appear scr,num will apply screen screen data scr to physic with one of 1 – 79 versions of a fade
What these numbers do is up for trial and error as there is no definitive list in the manual
//appear applies the screen to the physical screen only
rem *** for editing set function keys ***
rem *** modified for easy of use ***
key(2)="default"
key(3)="fload"+chr$(34)+"*.asc"+chr$(34)

rem *** start STOS Program ***
curs off: rem hides cursor

mode 0:key off:flash off
reserve as screen 11
load "pic.pi1",11
get palette(11)
appear 11,2
rem *** screen3.stos : main program file
We will be moving a triangle across the screen – not a sprite
Some commands we’ll look at
screen swap swaps the address of the physical and logical screen.
wait vbl sets the code to wait for the next vertical blank (where the magic happens) before executing the next code. When used in a game loop it is used to keep the code running at not more then 50 FPS even on fast machines
logic = back – this places the address of the sprite background into the logical screen. Since back in not visible, anything you draw to logic now is invisible to the user
We don’t need back because we are not using sprites This is useful so we can draw onto a logic without affecting the physical screen and double buffer a moving object with no flicker by swapping the logic the contents of logic and physic on every frame
autoback off – sets the writing mode to NOT write to both physic and back at the same time. We don’t need to write to “back” because we are not using sprites in this exercise; it will speed up drawing operations. This is perfect if your program does not need to use STOS sprites.
The polygon command is used to draw a multi-sided shape this uses parts of page 140 in the STOS manual as a jumping off point
Ink sets the current drawing color to the index 0 to 15 of the current palette
rem *** for editing set function keys ***
rem *** modified for easy of use ***

key(2)="default"
key(3)="fload"+chr$(34)+"*.asc"+chr$(34)

rem *** start STOS Program ***
curs off: rem hides cursor

mode 0:key off:flash off:hide

rem *** set the polygon coordinates
x1=50:y1=50
x2=75:y2=100
x3=25:y3=100

cls
logic=back
autoback off
for i=0 to 244 step 1


rem erase the last triangle
rem note - we have to draw back -2 not -1. This is because when we draw to each screen physic and then logic every other frame
rem        when we use swap
rem *** tests ***.
rem 1. remove wait VBL and test
rem 2. turn auto back on and test

ink 0
polygon x1+i-2,y1 to x2+i-2,y2 to x3+i-2,y3 to x1+i-2,y1
rem draw a new triangle using color 1
ink 1
polygon x1+i,y1 to x2+i,y2 to x3+i,y3 to x1+i,y1
screen swap: wait vbl
next i

Show
rem *** screen4.stos : main program file
palette colors – Let’s take a little further look at the palette and a few graphic tricks in this color and graphic demo. We are using some code in ST Format September 1992 as a jumping off point in this exercise
We are going to start ending our programs a little differently now.
wait key: default: end
In this we are going to modify the palette manually, draw a pattern, then fade it out, change the palette and fade it back in again.
Colors are set on registers 0 to 15 with 0 normally representing the background or “transparent” color. it isn’t actually transparent but more like color index 0 from a GIF (or JIF) file. Anything that uses that color will look like the background color.
As we talked about in the first video in this series, you can manually set the palette using the PALETTE command: example: palette $0,$fff,$f00,$0f0,$00f
We can pull the palette easily from an image as we have seen in previous examples with the get palette(scr) command.
Colors are set using 0-7 values for each red green and blue.
For example ex: $000 is black because you have 0 of each color. $777 is white because you have the max of each color, which is computer terms means that you are basically adding the maximum of white to all three red, green and blue color buckets,
$700 is red because red is MAX (7) and the blue and green are both 0.
inc vs ink
In this example will use inc to increase the value of the variable c by one and INK C to draw with the PEN C. This is confusing as both commands look so similar but so vastly different tasks
This code also introduces the for loop and if control structures which are at the heart of a programming language.
for is used to iterate over a set of numbers using those numbers to repeat a task
if is used to test a true or false condition and then act on the result
These will be the heart of our STOS basic code for game development. More information on these can be found in the STOS manual and in ANY Book on basic programming.
key(2)="default"
key(3)="fload"+chr$(34)+"*.asc"+chr$(34)

rem *** start STOS Program ***
key off:curs off:hide:mode 0
rem setup a rainbow palette to work with
palette $0,$700,$730,$750,$770,$570,$370,$070,$073,$075,$077,$037,$007,$307,$507,$707
rem create 4 small loops that draw lines from the center to each edge.
rem increase the ink color by 1 every time until it hits 15 and then reset c back 10 1
c=1
for x=0 to 319 step 2
ink c: draw 160,100 to x,0
inc c : if c>15 then c=1
next x
for y=0 to 199 step 2
ink c: draw 160,100 to 319,y
inc c: if c >15 then c=1
next y
for x=319 to 0 step -2
ink c: draw 160,100 to x,199
inc c: if c > 15 then c=1
next x
for y=199 to 0 step -2
ink c: draw 160,100 to 0,y
inc c:if c > 15 then c=1
next y

rem this is the second part of the lesson. un-rem this to show a 2 50th of a second delay between color shifts
rem this first fade command sets all of the palette to $000
fade 4
wait 50
rem the graphic is not gone through. We can reset the palette registers and fade the graphic in
fade 4,$0,$077,$067,$057,$047,$037,$007,$307,$407,$507,$607,$707,$606,$505,$404,$303

wait key:default:end
rem *** screen5.stos : main program file
screen copy and saving the screen into a string
In this final example will do more useful tricks with the screen. We will need to load in
an image to get started.
We’ll use the screen copy function to cut parts of the image and display them on the screen
we’ll then cut images into an array of sprite tiles and loop through and animate them
//screen copy : SCREEN COPY scr1 to scr2 – copies an entire screen from scr1 to scr2
// SCREEN COPY scr1,x1,y1,x2,y2 to scr2,x3,y3 – copies just the x1,y1,x2,y2 bounded areas to scr2
//SCREEN AS A STRING: s$=SCREEN$(scr,x1,y1 to x2,y2) – copies the bounded area x1,y1 to x2,y2 to the variable s$
// SCREEN$(scr,x,y) = s$ = copies the screen data in s$ to scr starting at x,y
key(2)="default"
key(3)="fload"+chr$(34)+"*.asc"+chr$(34)

rem *** start STOS Program ***
key off:curs off:hide:mode 0

rem *** first we need to load in the screen I created from SPRITEGPL
reserve as screen 10
load "chopper.pi1",10
get palette(10)
screen copy 10 to physic

rem *** wait key + some text
rem locate text position  24 by 40 grid 0 relative
rem inverse turns added the inverse color to text. Pen is color 0 to 15 from the palette.

rem *** in NeochromeI found the location and size of the last three helicopter images on row 1 32x20
rem I am using a sprite sheet from Ari Feldman's SprietLib GPL. He was nice enough to provide me with 16 color versions
rem that he made for the ST
rem image 1 205,1 to 237,20
rem image 2 239,1 to 271,20
rem image 3 273,1 to 305,20

inverse on:pen 2: locate 1,20:print "press a key"
wait  key

rem use screen copy to grab sprite frames from 10 and place at 0,0 on physic
rem use screen$ to grab those and place into an array
rem why not do it directly on screen 10?
rem because screen$ cannot grab from anything BUT multiple 16 for x, but screen copy can
rem this would normally not be done on physic, but we wanted to show it
rem it's so fast it won't be seen easily by the viewer anyway for this example

cls physic
dim i$(3)
SCREEN COPY 10,205,1,237,20 to physic,0,0
i$(0)=SCREEN$(physic,0,0 to 32,20)

SCREEN COPY 10,239,1,271,20 to physic,0,0
i$(1)=SCREEN$(physic,0,0 to 32,20)

SCREEN COPY 10,273,1,305,20 to physic,0,0
i$(2)=SCREEN$(physic,0,0 to 32,20)


inverse on:pen 2: locate 1,20:print "press a key"
rem display the helicopter animation
rem now that we have grabbed the frames from 10 and put them into an array of image data
rem we can now loop through the frames and display then similar to the Sprite Amim function
rem we show the animation 100 times looping through the three images each time, clearing the
rem portion of the screen we are using each time

cls

for ctr=0 to 100
    for fctr=0 to 2
         cls physic,0,0,0 to 32,20
         SCREEN$(physic,0,0) = i$(fctr)
         wait 5
    next fctr
next ctr

rem this is not code you'd use in a game. I game, we'd put the graphics on logic and swap screens in the vertical
rem blank between frames.
rem we'll start building our game using these techniques in the next lesson


inverse on:pen 2: locate 1,20:print "press a key"
rem *** end the program with a key press
wait key:default:end

Leave a comment